Before upgrading your vehicle's suspension through DIY repairs with Select DIY Auto Repairs, understand your car's needs (weight, use, part condition), consult manuals or experts, gather proper tools and parts, test thoroughly after installation, and adjust as needed based on performance.
Looking to take control of your vehicle’s handling and comfort? Upgrading your suspension is a rewarding DIY project that can dramatically improve your driving experience. This comprehensive guide walks you through selecting the right components, mastering essential safety precautions, and performing a step-by-step shock and strut replacement. By the end, you’ll have a refined suspension system tailored to your vehicle, making every ride smoother and more responsive. Embrace the thrill of select DIY auto repairs with confidence!
- Choosing the Right Suspension Components for Your Vehicle
- Demystifying Tools and Safety Precautions for DIY Suspension Work
- Step-by-Step Guide: Replacing Shocks and Struts
- Testing and Fine-Tuning Your Upgraded Suspension System
Choosing the Right Suspension Components for Your Vehicle
When it comes to upgrading your vehicle’s suspension, selecting the right components is key. The first step in any DIY auto repair project should be understanding your vehicle’s specific needs and limitations. Different cars have varying suspension systems, so ensuring compatibility is essential. Consider factors such as vehicle weight, intended use (daily driving or off-roading), and the overall condition of existing suspension parts before making a purchase.
For instance, if you’re performing a DIY brake pad replacement guide or repairing a loose steering wheel, you’ll need components that cater to these specific tasks. Simple auto repairs for beginners often start with basic suspension upgrades like shock absorbers or coil springs. Always consult your vehicle’s manual or seek expert advice to make informed choices, guaranteeing both safety and optimal performance during the upgrade process.
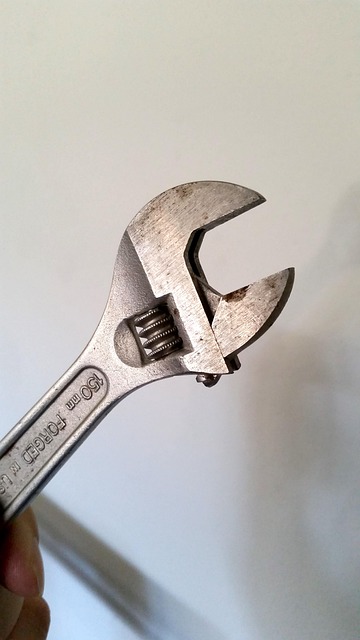
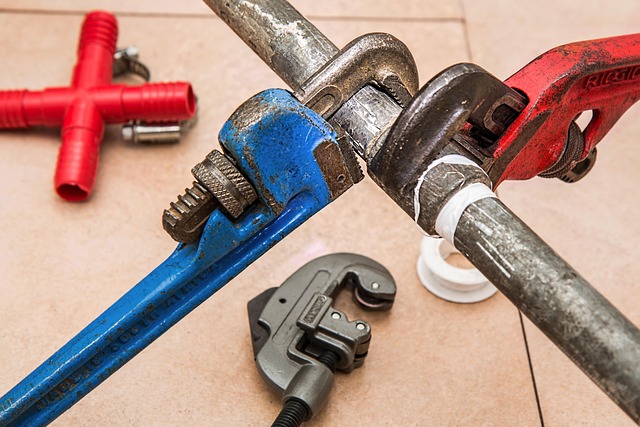
Demystifying Tools and Safety Precautions for DIY Suspension Work

When tackling DIY suspension upgrades, demystifying tools and prioritizing safety is key. While it might seem intimidating at first, selecting the right tools for the job can make even complex auto repairs, like replacing door seals or door handles, more manageable. For instance, a basic set of wrenches, screwdrivers, and jack stands will cover most tasks. For tougher jobs, consider specialized suspension tools tailored to your vehicle’s needs.
Safety should never be overlooked in any DIY project. Always wear safety goggles and gloves to protect yourself from debris and potential harm. Ensure adequate ventilation when working on your car, especially if the task involves removing or replacing components like a muffler. Remember, understanding your vehicle’s systems and following proper procedures, similar to those for replace door handle automotive or diy muffler repair, is crucial for successful and safe DIY suspension upgrades.
Step-by-Step Guide: Replacing Shocks and Struts

Upgrading your car’s suspension system is a great way to enhance handling and comfort. One crucial aspect of this process involves replacing shocks and struts, which can be accomplished through a Select DIY Auto Repairs project. Here’s a step-by-step guide to help you navigate this task successfully.
Begin by gathering the necessary tools and parts: jack, jack stands, new shocks/struts, and replacement springs (if needed). Park your vehicle on a level surface and engage the parking brake. Next, locate the shocks and struts, which are typically found at each wheel corner. Lower the vehicle using the jack and secure it with jack stands for safety. Remove the old shocks/struts by unbolting them from the chassis or suspension components. Ensure you have proper replacements that fit your vehicle’s make and model. Install the new parts, tightening the bolts securely. Once finished, raise the vehicle again and remove the jack stands before lowering it to the ground. Test the system for any unusual noises or handling changes, ensuring a smooth ride and improved control while driving.
Testing and Fine-Tuning Your Upgraded Suspension System

After installing your new suspension components, it’s crucial to test and fine-tune your system for optimal performance. Begin by performing a simple car battery replacement or charging, ensuring your vehicle has sufficient power to complete the testing process. Drive at various speeds and over different terrains to assess how your upgraded suspension handles each scenario. Take note of any unusual noises, vibrations, or handling characteristics that deviate from standard operation.
If adjustments are needed, refer to manufacturer guidelines or consult a professional mechanic for engine tune-up at home tips. Fine-tuning may involve adjusting shock absorbers, changing spring rates, or recalibrating the anti-roll bar. Remember, Select DIY Auto Repairs can provide valuable insights and guidance throughout the process, ensuring your upgraded suspension system is not only installed correctly but also performs seamlessly.
Upgrading your vehicle’s suspension is a great way to enhance both performance and safety. By following the steps outlined in this guide, from selecting the right components to testing the final system, you can achieve a smoother, more controlled ride without breaking the bank. Remember, for complex tasks like DIY auto repairs, proper tools and safety precautions are key. With the right approach, you can confidently navigate these repairs and enjoy the benefits of a refined suspension system.