Upgrading your vehicle's suspension system yourself with Select DIY Auto Repairs offers numerous benefits for vehicle owners. While it requires understanding the intricate network of components, proper guidance, and using the correct tools, it improves ride quality, safety, and fosters automotive autonomy. A well-equipped toolkit, including jack stands, socket sets, and PPE, ensures a successful and safe upgrade process. Following a comprehensive guide, focusing on Select DIY Auto Repairs, covers preparation steps and removal of old parts to dramatically enhance vehicle performance and safety.
Considering a DIY suspension upgrade? Learn how to enhance your vehicle’s handling and safety with this comprehensive guide. First, understand your car’s suspension system—its components and function. Next, explore the benefits of an at-home upgrade, from improved performance to cost savings. Armed with the right tools and knowledge, you can safely boost your ride quality. Follow our step-by-step process for a successful DIY auto repair project.
- Understanding Your Vehicle's Suspension System
- Benefits of a DIY Suspension Upgrade
- Essential Tools and Materials for the Job
- Step-by-Step Guide to Performing the Upgrade
Understanding Your Vehicle's Suspension System
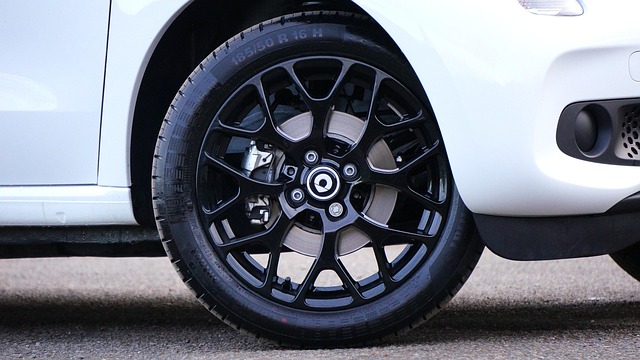
The suspension system is a critical component of any vehicle, ensuring a smooth ride and proper vehicle control. When considering a DIY suspension upgrade, it’s essential to first understand how this intricate network of parts functions. Your car’s suspension comprises several key elements, including springs, shock absorbers (or struts), control arms, ball joints, and bushings. These components work in harmony to absorb road impacts, maintain vehicle height, and keep your wheels aligned.
For those opting for Select DIY Auto Repairs, knowing the basics of tire rotation instructions and even tasks like replacing a door seal or fixing a blown head gasket can be beneficial. However, when delving into suspension upgrades, it’s crucial to approach these repairs with a thorough understanding of the system’s interconnections. Ignoring this could lead to safety hazards and further damage, so ensuring you have the right knowledge or seeking guidance from experts is recommended.
Benefits of a DIY Suspension Upgrade
Performing a DIY suspension upgrade offers a multitude of advantages for vehicle owners looking to enhance their ride quality and safety. By taking on this project yourself, you gain a deeper understanding of your car’s mechanics, fostering a sense of autonomy and confidence in maintaining your vehicle. Not only does it allow you to select the specific components suited to your needs, but it also avoids the costs associated with professional installation.
Moreover, a do-it-yourself approach equips you with the skills to tackle other common auto repairs, such as fixing a flat tire or recharging your car’s air conditioning system using a reliable kit. This versatility can save you time and money in the long run, addressing issues like battery charging problems promptly and efficiently without needing to visit a mechanic for minor adjustments.
Essential Tools and Materials for the Job

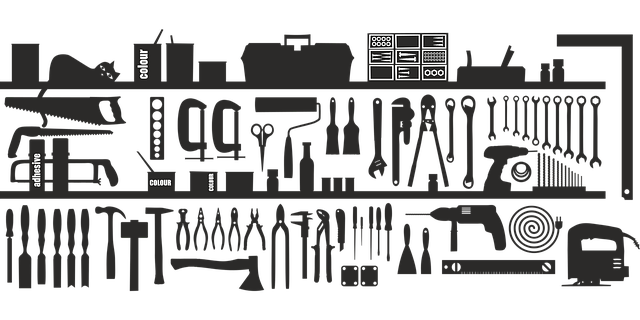
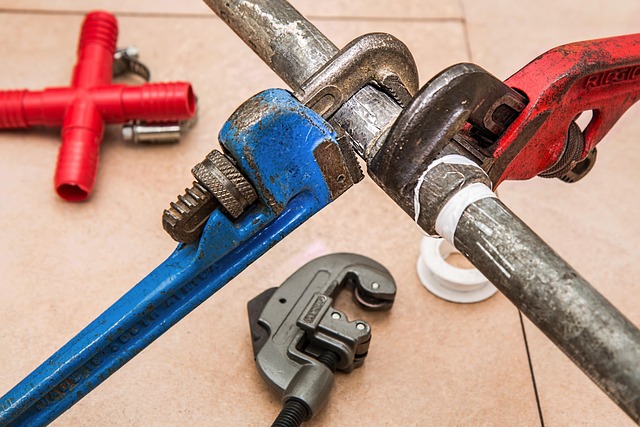
When tackling a DIY suspension upgrade, having the right tools and materials is paramount to a successful and safe outcome. For this project, you’ll require a mix of basic automotive tools and specialized equipment, depending on your vehicle’s make and model. Here’s what you should consider for your kit: sturdy jack stands, socket sets (including various sizes), ratchet wrenches, screwdrivers (both flathead and Phillips), a torque wrench, and a set of high-quality replacement suspension components such as shocks or struts.
Additionally, ensure you have access to a comprehensive repair manual specific to your vehicle for detailed instructions. Safety is paramount, so don’t forget personal protective equipment (PPE), including gloves and eye protection, especially when dealing with parts like brakes or exhaust systems. Remember, selecting the correct DIY auto repairs tools and materials will not only make the process smoother but also guarantee a durable and reliable suspension upgrade.
Step-by-Step Guide to Performing the Upgrade
Performing a DIY suspension upgrade can significantly enhance your vehicle’s performance and safety. Here’s a step-by-step guide to help you through the process, focusing on Select DIY Auto Repairs for a restored old car interior.
1. Preparation: Start by gathering all necessary tools and parts. This may include new shock absorbers, struts, and other suspension components. Ensure your work area is well-lit and organized to facilitate smooth operations. Safety gear, such as gloves and safety glasses, should be mandatory. For a restored old car interior, clean and prepare the interior surfaces before proceeding with the upgrade.
2. Removal of Old Parts: Next, carefully remove the existing suspension components. This process often involves detaching brackets, unbolting bushings, and lowering the vehicle securely. Refer to your vehicle’s service manual for specific instructions on how to replace door seals car and other critical components. Once removed, inspect the old parts for wear or damage. After cleaning, you can now install new shock absorbers and struts, ensuring they are properly aligned. For added protection, consider applying car window tint installation to enhance privacy and block UV rays from damaging your restored old car interior.
Upgrading your vehicle’s suspension system can significantly enhance both its performance and safety, making it a worthwhile DIY auto repair project. By understanding your vehicle’s suspension and following a detailed guide, you can achieve a smoother, more controlled ride. This DIY suspension upgrade not only offers improved handling but also increases the lifespan of your car’s critical components. With the right tools and knowledge, you can take control of your vehicle’s performance and enjoy the benefits of a refined driving experience.