Regular tire rotation (every 5,000-8,000 miles) is a crucial DIY auto repair for maintaining tire lifespan, performance, and safety. Involves jacking up the car, rotating tires according to manufacturer guidelines, and verifying inflation. Proper maintenance includes checking for damage and addressing pressure issues to optimize handling, traction, and fuel efficiency, saving on professional repairs.
Tire rotation is an essential aspect of vehicle maintenance, ensuring even wear and maximizing tire life. For those looking to take on this task themselves, understanding the process is key. This article guides you through the steps of tire rotation, from recognizing its importance to gathering the necessary tools. By following these simple instructions, DIY auto enthusiasts can extend their tire’s lifespan and enhance overall vehicle performance, making it a valuable skill for select DIY auto repairs.
- Understanding Tire Rotation Importance
- Gather Tools and Materials
- Step-by-Step Rotation Process
- Maintaining Optimal Tire Health
Understanding Tire Rotation Importance
Understanding Tire Rotation Importance
Regular tire rotation is a crucial aspect of vehicle maintenance that many drivers overlook. It involves periodically changing the position of your tires to ensure even wear and tear, which can significantly extend their lifespan. By rotating your tires, you distribute the wear patterns evenly across all four, preventing excessive wear on any one area. This simple DIY auto repair can also help maintain optimal tire performance, ensuring consistent handling, traction, and fuel efficiency.
In light of this, understanding when and how to rotate your tires is key. Most experts recommend rotating tires every 5,000 to 8,000 miles or at least every six months. For those tackling DIY engine oil changes or even performing diy wheel alignment tips, tire rotation should be a natural extension of your routine maintenance. By giving this task the attention it deserves, you’ll not only save on costly professional repairs but also enjoy safer and more efficient driving conditions.
Gather Tools and Materials

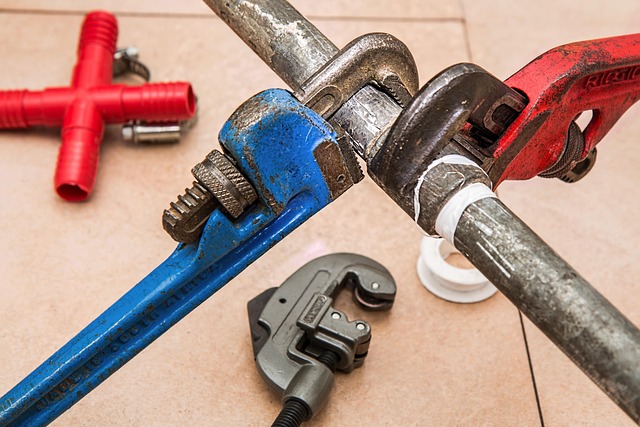
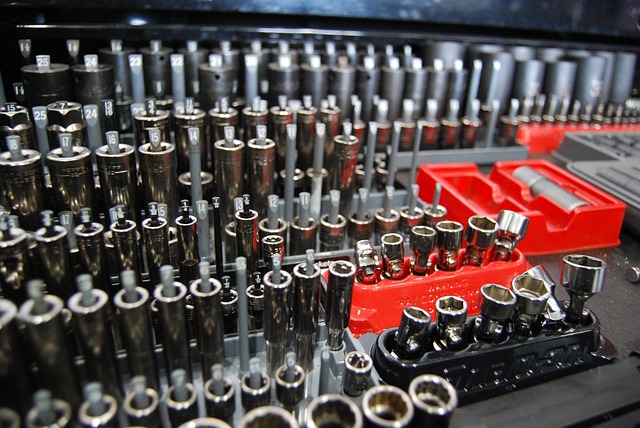
Before you begin tire rotation, make sure you have all the necessary tools and materials on hand. This includes a jack, jack stands, a new set of tires (if rotating for wear), a tire iron, and a vehicle-specific tire gauge. For those considering DIY auto repairs, this is another great opportunity to showcase your skills. Remember that proper tools are key to ensuring each step is done correctly, just like in a diy brake pad replacement guide or diy exhaust system repair.
Additionally, having some basic knowledge of your car’s design can be beneficial. This includes understanding how tire rotation affects different vehicle types and models. With these items prepared, you’ll be ready to restore old car interiors with fresh tires, ensuring optimal performance and safety on the road.
Step-by-Step Rotation Process
Rotating your tires is an essential part of regular vehicle maintenance that many DIY auto repairs enthusiasts find rewarding. It’s a straightforward process that can significantly extend tire life and ensure even wear patterns. Here’s a step-by-step guide to help you navigate this task, promoting optimal performance and safety for your car.
Start by selecting the right time, typically every 5,000 to 8,000 miles or according to your vehicle’s owner manual. Jack up your car using a sturdy jack and secure it with wheel chocks for stability. Next, locate your tires, identifying their position on the vehicle: front, rear, driver’s side, or passenger’s side. Begin by removing the lug nuts from one tire at a time, applying consistent but manageable force. Once loosened, take off the tire completely to assess its condition and identify any signs of damage or wear. Replace it with a new tire if necessary. Continue this process for each wheel, rotating them according to your vehicle’s recommended pattern (usually a specific order for optimal performance). After replacing all tires, tighten the lug nuts securely, ensuring they are evenly tightened to avoid any post-rotation issues. Lastly, lower your car and verify that all tires are properly inflated at the recommended PSI.
Maintaining Optimal Tire Health
Maintaining Optimal Tire Health
Regular tire rotation is an essential part of DIY auto repairs that can significantly extend your tires’ lifespan and optimize their performance. By rotating your tires at the recommended intervals, typically every 5,000 to 8,000 miles or as suggested by your vehicle manufacturer, you ensure even wear patterns across all four tires. This simple practice helps prevent uneven tread wear, which can lead to handling issues, reduced fuel efficiency, and increased risk of accidents.
Proper tire maintenance also includes regular checks for signs of damage, such as cuts, punctures, or blisters on the tread surface. Addressing any issues promptly, whether it’s fixing a low tire pressure or replacing door seals to prevent leakage, is crucial for maintaining optimal tire health. By incorporating these simple yet effective practices into your vehicle care routine, you can enhance safety, save costs from premature tire replacements, and ensure smoother rides in the long run.
Tire rotation is a simple yet vital part of regular vehicle maintenance, ensuring your tires wear evenly and prolonging their lifespan. By following these easy steps, you can become a pro at selecting DIY auto repairs and keep your tires in peak condition. Remember, proper tire care not only saves money but also enhances safety on the road. So, why wait? Get rotating!