Before tackling DIY auto repairs on a dented fender, assess damage from various angles, check for rust, prepare your workspace, and evaluate fender size and complexity. Gather essential tools like mallets, putty, and sandpaper, emphasizing safety with protective gear. Ensure ample lighting, keep the area clean, use correct tools to gently remove the dent, aiming for a professional finish—selecting the right DIY auto repairs tools is crucial.
Are you ready to tackle a DIY auto repair project and fix that dented fender? This step-by-step guide will walk you through the process, from assessing the damage to achieving a professional finish. With the right tools and techniques, you can save money and restore your vehicle’s appearance. Start by inspecting the dents and preparing your workspace, then follow these detailed instructions: remove paint, clean the surface, pop out the dent, patch, prime, and finally, paint to match your car’s original color. Select DIY auto repairs and take control of your vehicle’s upkeep!
- Assess the Dents and Prepare Your Workspace
- – Inspect the extent of the damage
- – Gather necessary tools and materials
- – Ensure proper lighting and a clean work area
Assess the Dents and Prepare Your Workspace
Before tackling any DIY auto repairs, it’s crucial to thoroughly assess the extent of the dented fender. Inspect the damage from various angles to determine if there are multiple dents or a single, larger one. Look for signs of rust, as this can indicate deeper structural issues that might require professional attention. Prepare your workspace by ensuring ample room to work around the car and access all necessary tools and materials. Clear any debris or obstacles, and if possible, jack up the vehicle to gain easier access to the fender.
Consider the fender’s size and complexity when deciding on a repair approach. For smaller dents, using specialized dent removal tools or even DIY methods like hair dryers and ice packs can help restore the fender to its original shape. However, if the damage is extensive or involves deep pitting, it might be more prudent to refer to a professional who specializes in such repairs, especially when considering the potential impact on your car’s overall aesthetics and value.
– Inspect the extent of the damage
Before tackling any DIY auto repairs, it’s crucial to inspect the extent of the damage caused by a dented fender. Carefully examine the fender for dimensions, depth, and location of the dent. This will not only help in selecting the right tools but also determine the level of difficulty involved in the repair process. Select DIY Auto Repairs that align with your skill set to ensure safety and effectiveness.
Once you’ve assessed the damage, consider other related components that might need attention. For instance, if the dent is near a wheel well, it could affect alignment or even trigger a check engine light diagnostic due to sensor interference. Additionally, evaluating nearby areas for any associated damage, such as dents in adjacent panels or loose components, will help in completing the repair comprehensively and avoiding future issues like a DIY brake pad replacement guide or fixing a flat tire.
– Gather necessary tools and materials

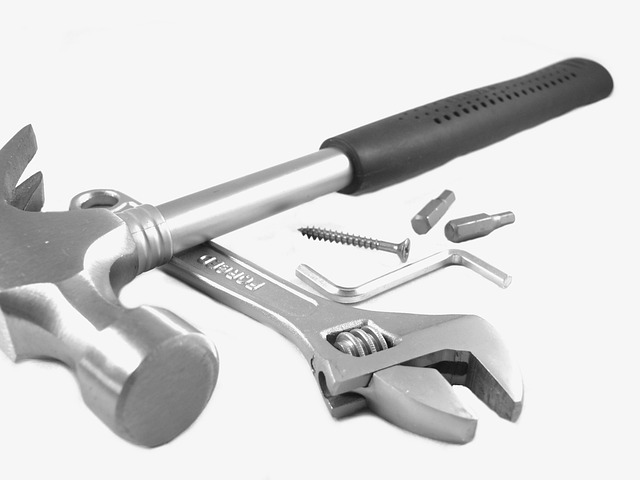
Before tackling any DIY Auto Repairs, it’s crucial to gather the right tools and materials. For fixing a dented fender, you’ll need a few specific items. Start with some basic tools like a mallet, rubber hammer, or even a plastic card — these can be used to gently pry out the dents without causing further damage. Additionally, grab some automotive-grade putty or body filler, which is designed for repairing dents and dings. Make sure you also have a sanding block and fine-grit sandpaper to smoothen the surface after filling.
For beginners looking to take on simple auto repairs, this project can be an excellent starting point. Remember, safety comes first; wear protective gloves and eye gear as you work. With the right tools at hand, even those with no prior experience in DIY oil pan drain and refill or car battery replacement tips can successfully fix a dented fender, enhancing their vehicle’s appearance and saving them from costly body shop visits.
– Ensure proper lighting and a clean work area

Before tackling any DIY auto repairs, it’s crucial to prepare your workspace for safety and efficiency. Start by ensuring ample lighting—natural or artificial—to clearly see every detail of the dented fender. A well-lit area allows for precise measurements and accurate installations, making your repair job easier. Additionally, keep your work surface clean and clear of debris or obstructions. A tidy workspace promotes better focus and reduces the risk of damage or injury during the repair process.
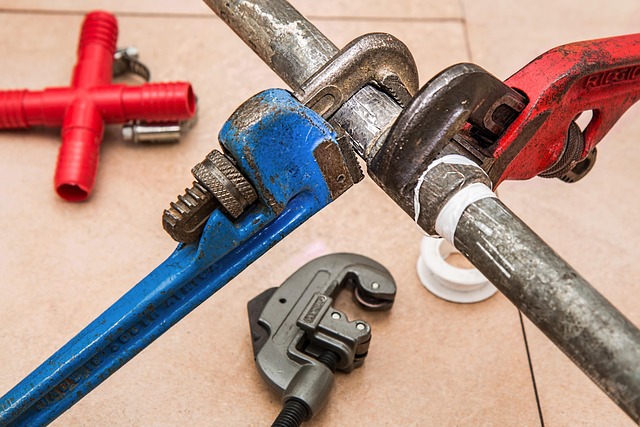
For this particular task, proper lighting will help you assess the extent of the dent accurately. Moreover, consider using tools designed for dent removal, such as a hammer and dolly set, to gently pull out the depressed area without causing further damage. Remember, selecting the right DIY auto repairs tools is key when repairing a dented fender, ensuring a clean, professional finish.
Repairing a dented fender can be a manageable DIY auto repair project with the right preparation. By carefully assessing the damage, gathering your tools, and setting up a clean workspace, you’re well on your way to restoring your vehicle’s exterior. Remember, proper lighting is key for precision work, so ensure your area is well-lit before beginning. With these simple steps, you can confidently take on select DIY auto repairs and save time and money while maintaining your car’s aesthetic appeal.